Make up : My favorite looks and inspiration for graduation photos

To Look Polished Without Even Trying, Cool Minimalists
Lets face it: The days were we have a spare time to do that 20 step make up routine are few. As a beauty and portrait photographer I have collected tons of inspirations, tips from fellow MUA’s and “what works and doesn't” in front of a camera.
Here are my top make up styles, looks and products for all of my busy and beautiful clients AKA you.
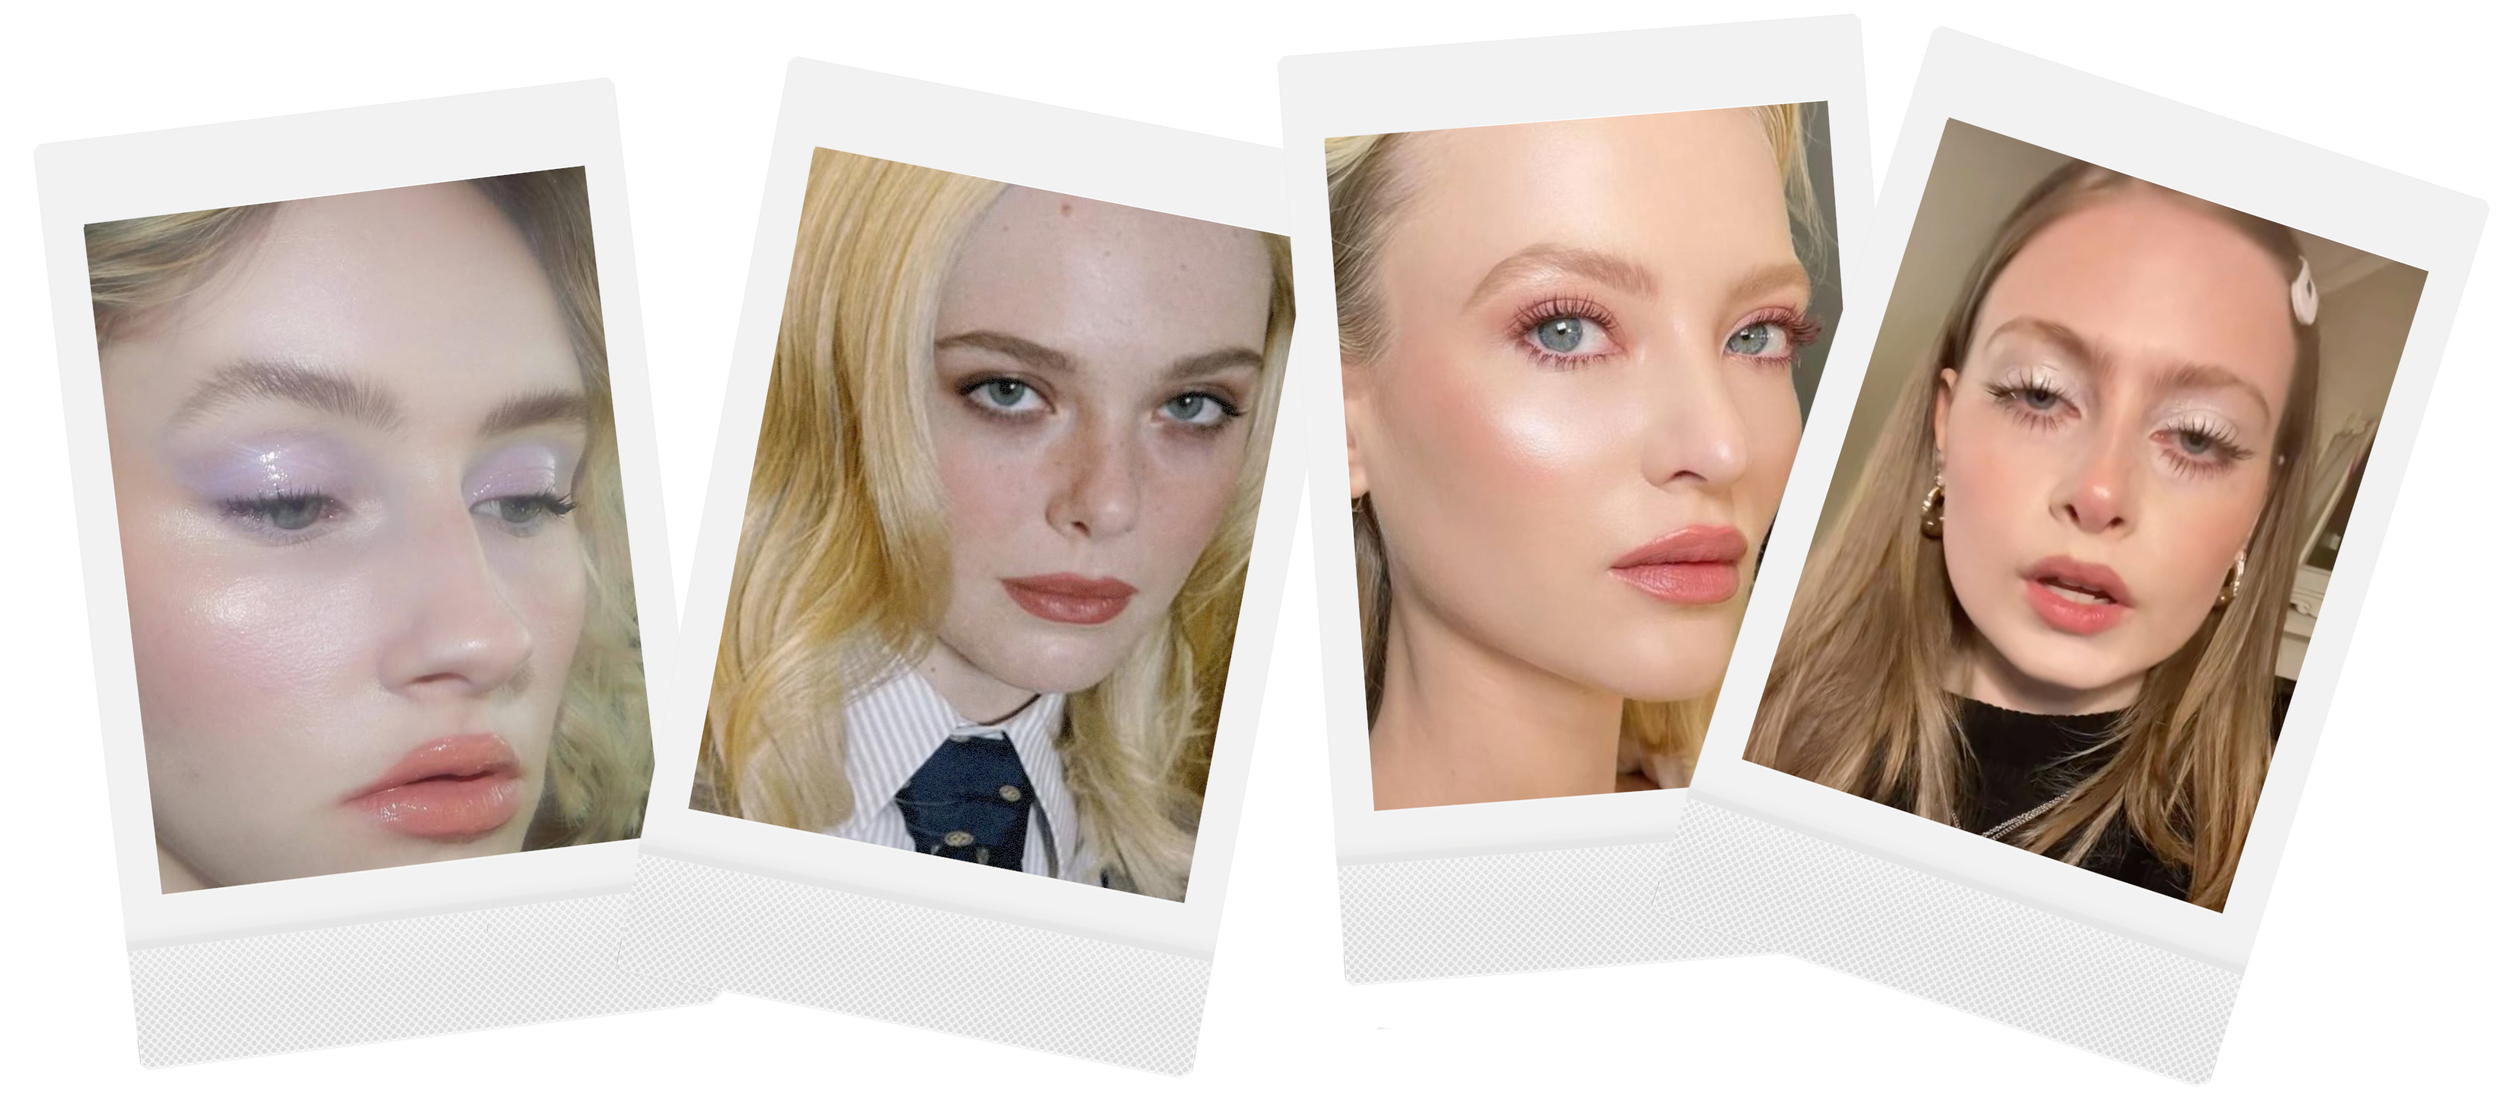
FACE & SKIN
With a good base, we can achieve anything.
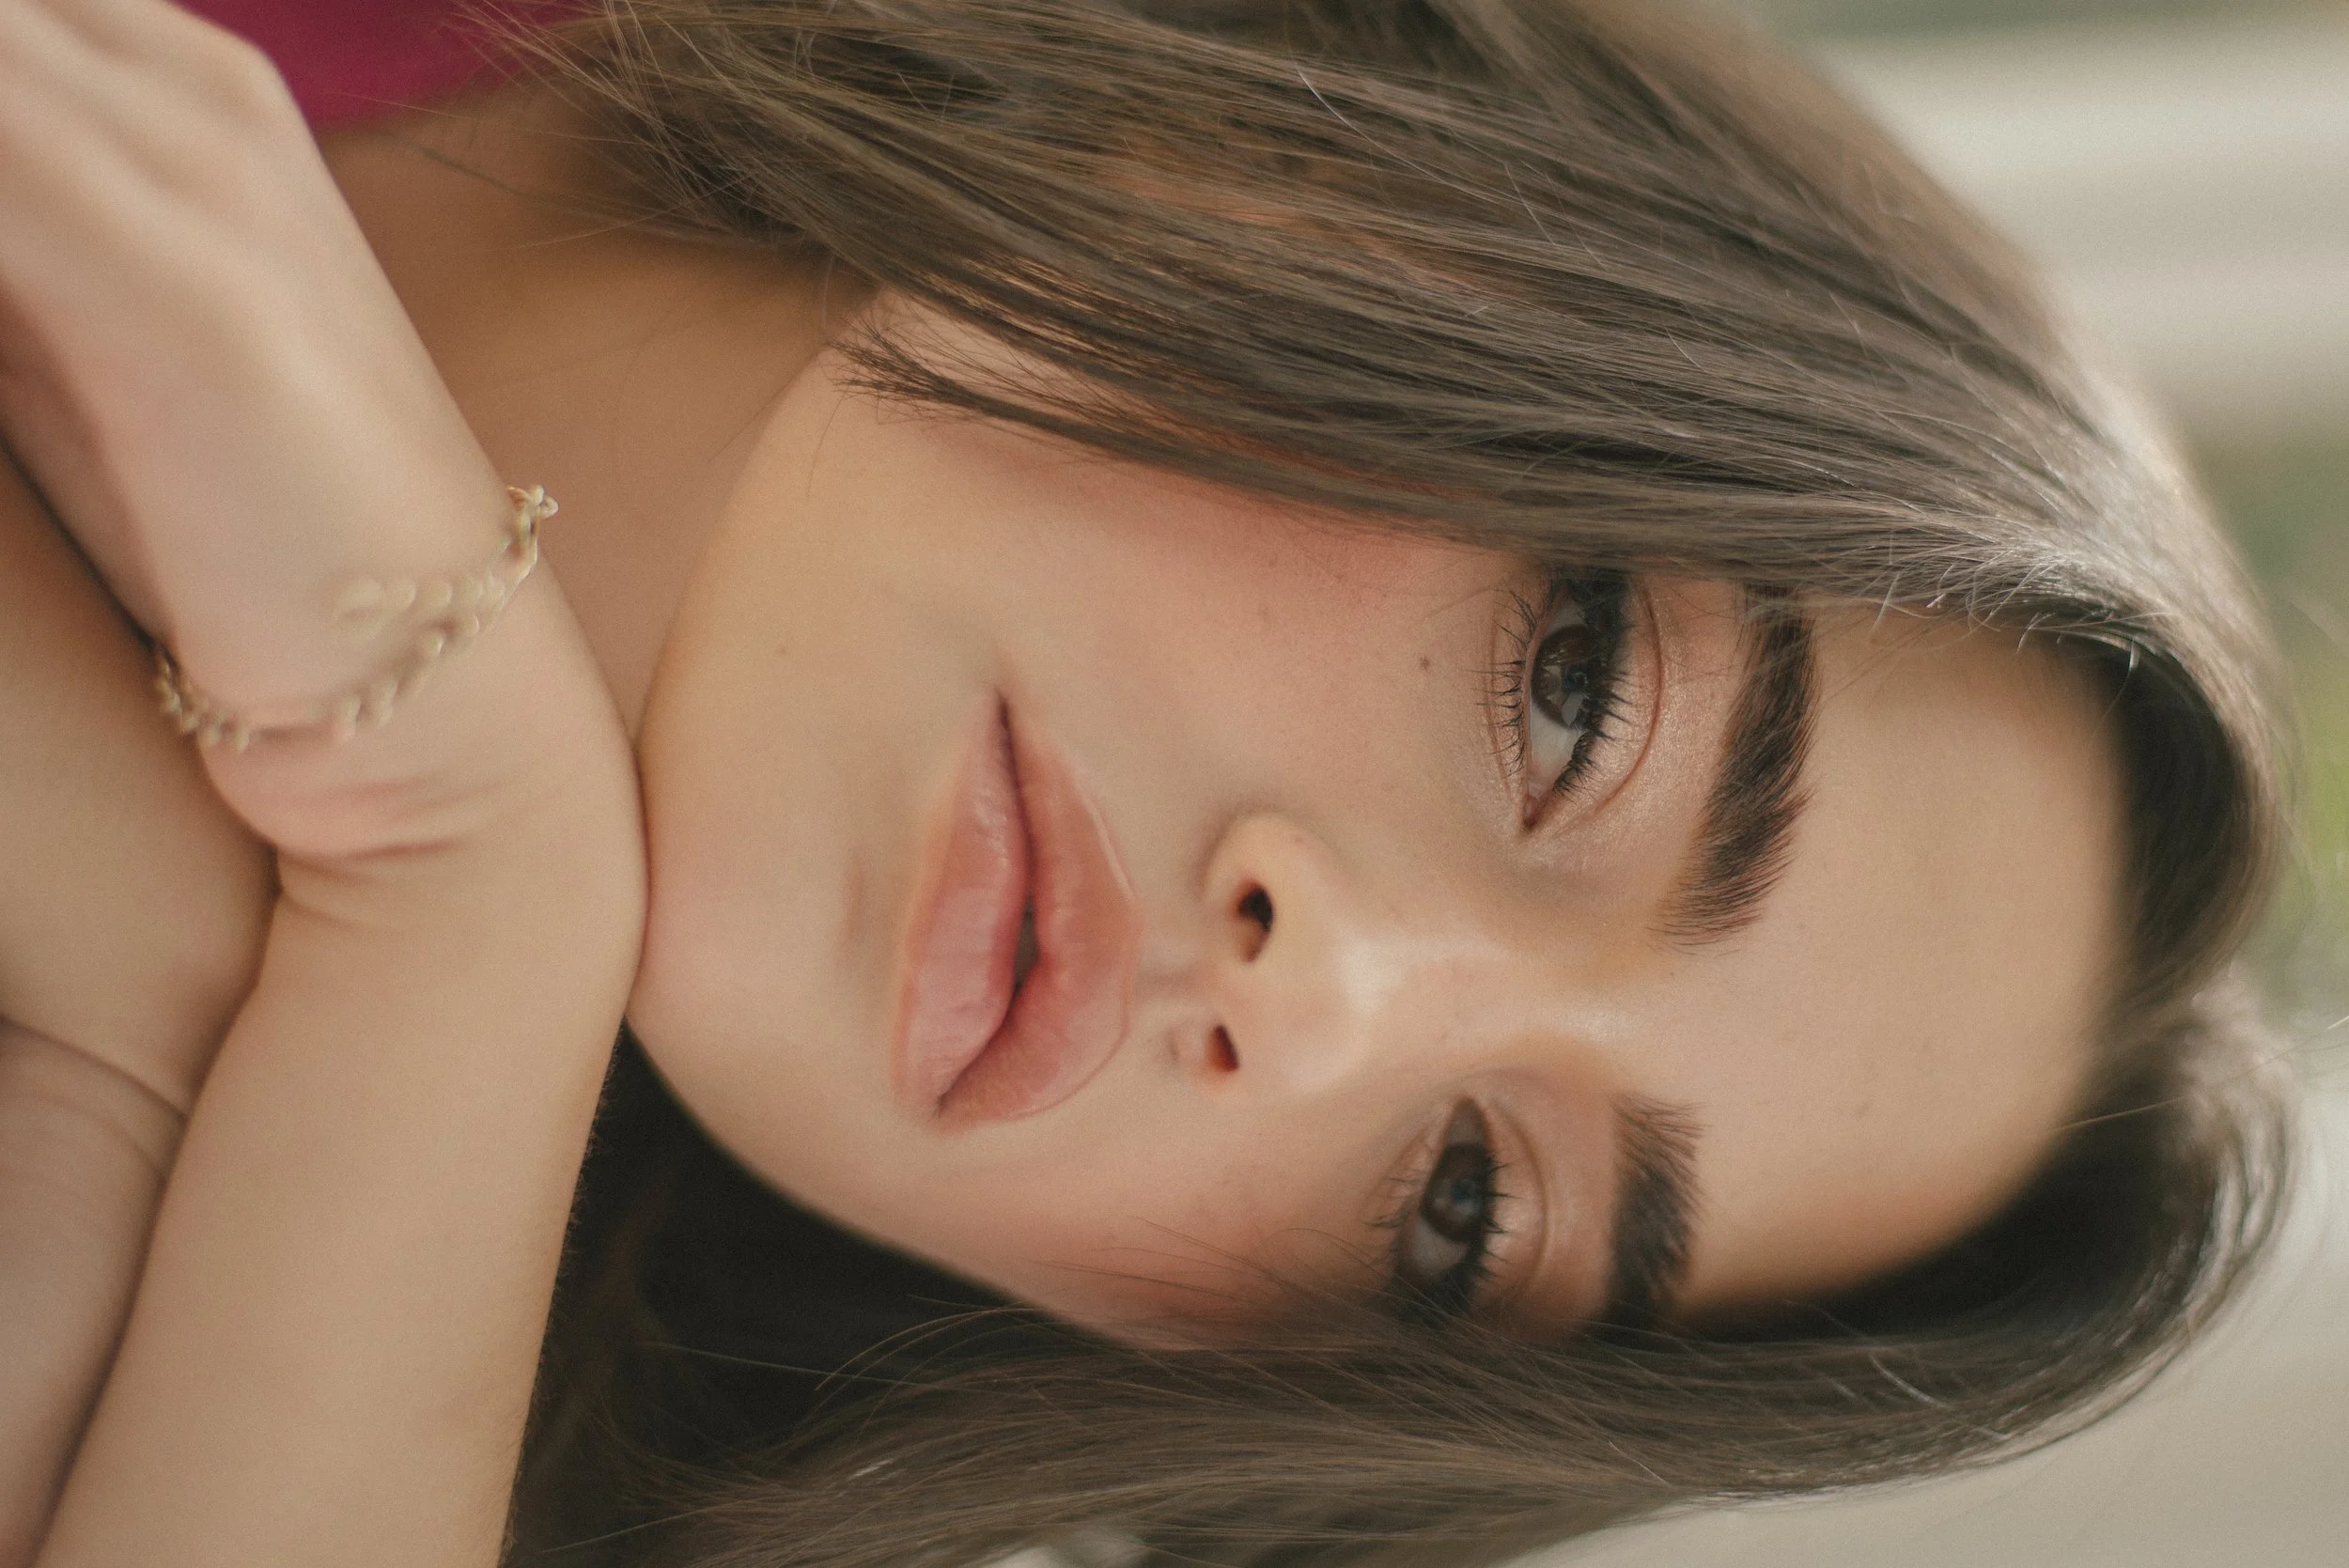
Before I share my favorite options, I want to talk about my all-time favorite trend: juicy, hydrated skin. Let’s not let this trend die! I promise you, that’s the secret behind all those stunning editorial photos. Well-hydrated, glowing skin makes all the difference when it comes to photography.
Don’t forget to wash your face and bring that hydration back before starting your makeup.
One product I’m currently loving is Neutrogena’s Hydro Boost moisturizer. It’s super lightweight, and you can find a mini version at Walmart or Target (usually in the travel-size section).
Now let’s talk foundation and concealer.
A beautiful and very affordable option is L’Oréal Paris True Match. You can even find it at the drugstore! It has a soft, velvety, lightweight finish. Ever since a fellow makeup artist recommended it to me, I haven’t bought or recommended another foundation. You truly don’t need anything else.
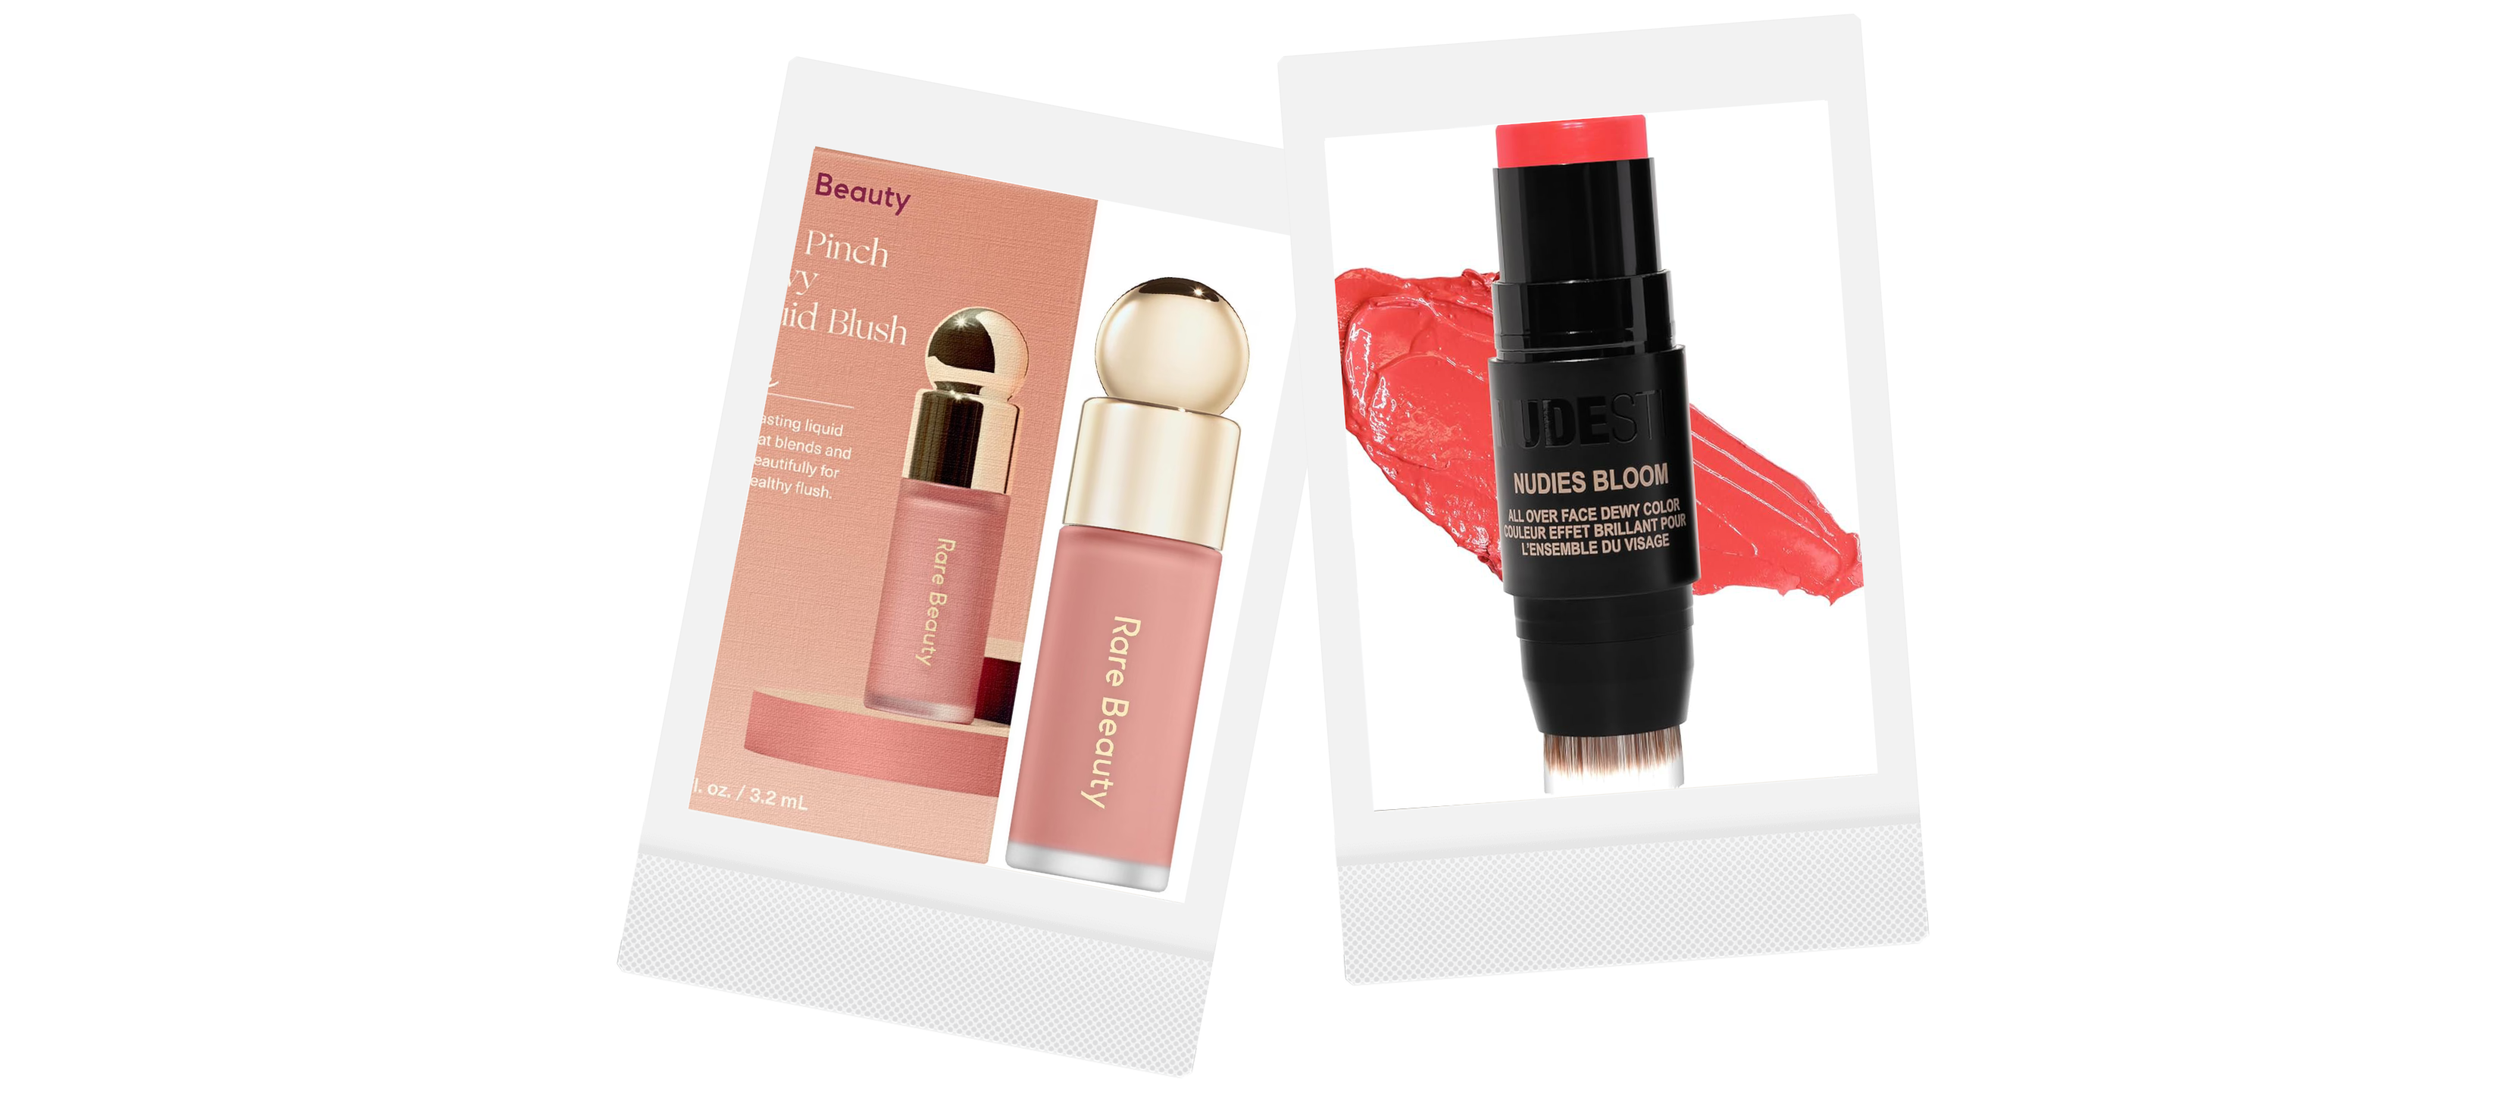
If you’re looking for a bit more coverage to conceal any spots or the occasional stubborn breakout on the day of your session, I recommend anything from Rare Beauty. The coverage is amazing, and the prices are very reasonable, specially the minis.
Another longtime favorite — and recently trending again — is the Maybelline Instant Age Rewind Multi-Use Concealer. I’ve seen so many people loving the pink shade specifically for brightening under the eyes.
And finally, we can’t skip my FAVORITE product of all times. If I had to recommend investing in just one item, it would be the Milk Makeup Mini Hydro Grip Dewy Long-Lasting Setting Spray.

They sell a travel-size version, which is perfect if you want to test it out or if you’re not someone who uses setting spray every single day. Because honestly, isn’t it the worst to buy a product and not even make it halfway through before it expires?
The reason I’m so loyal to this product is the incredibly dewy finish it gives the skin. It’s stunning. I promise you’ll receive so many compliments that day.

A beautiful prepped skin, a soft natural lip and eye color can go a long way. It always feels fresh and ethereal in photos.
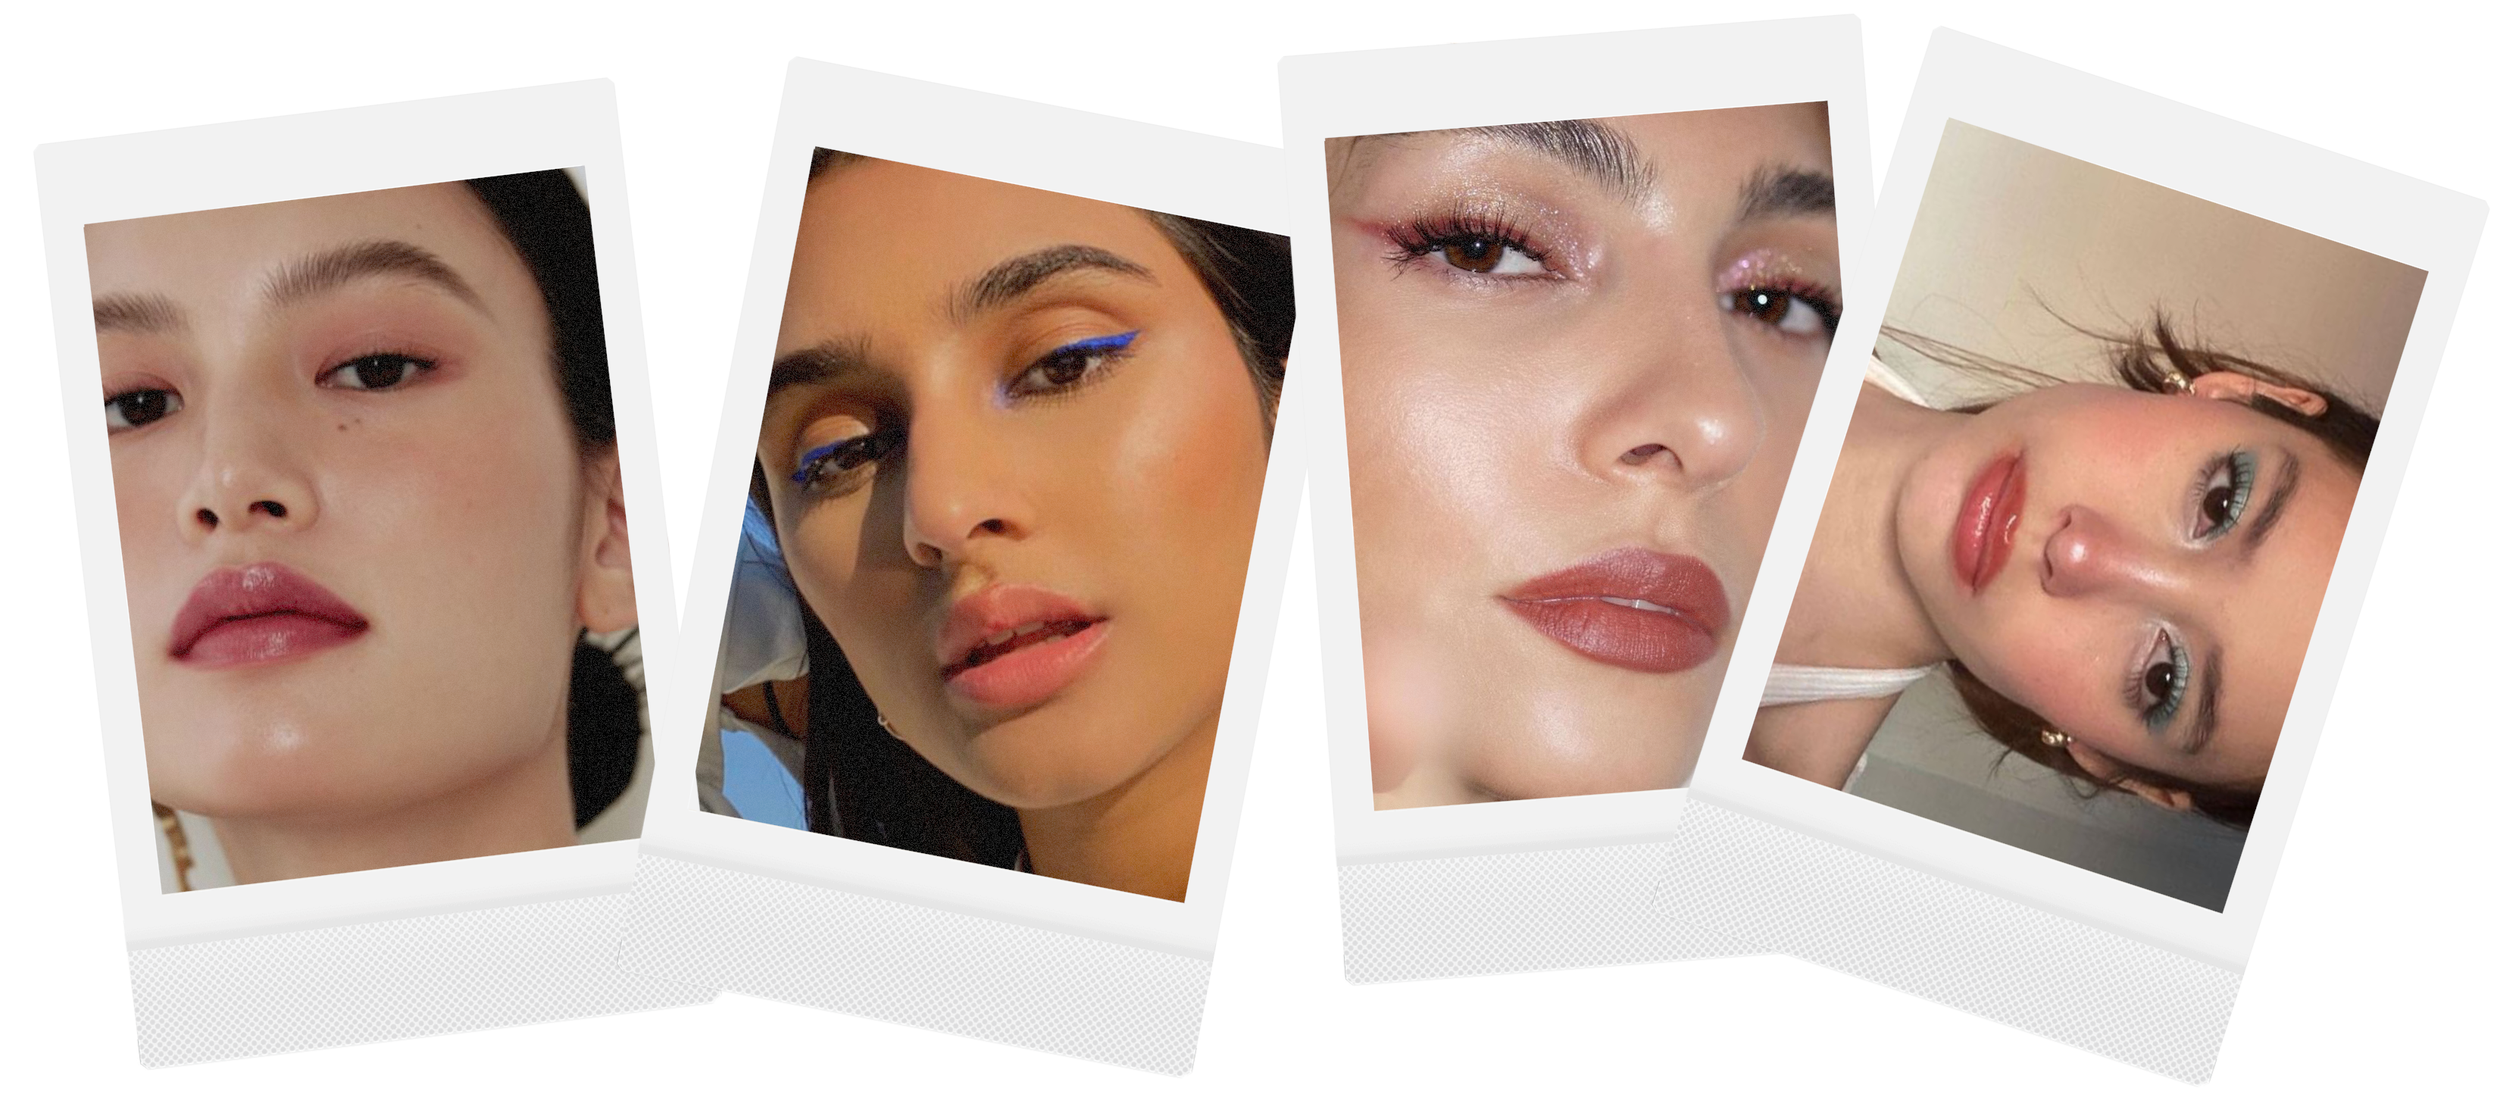
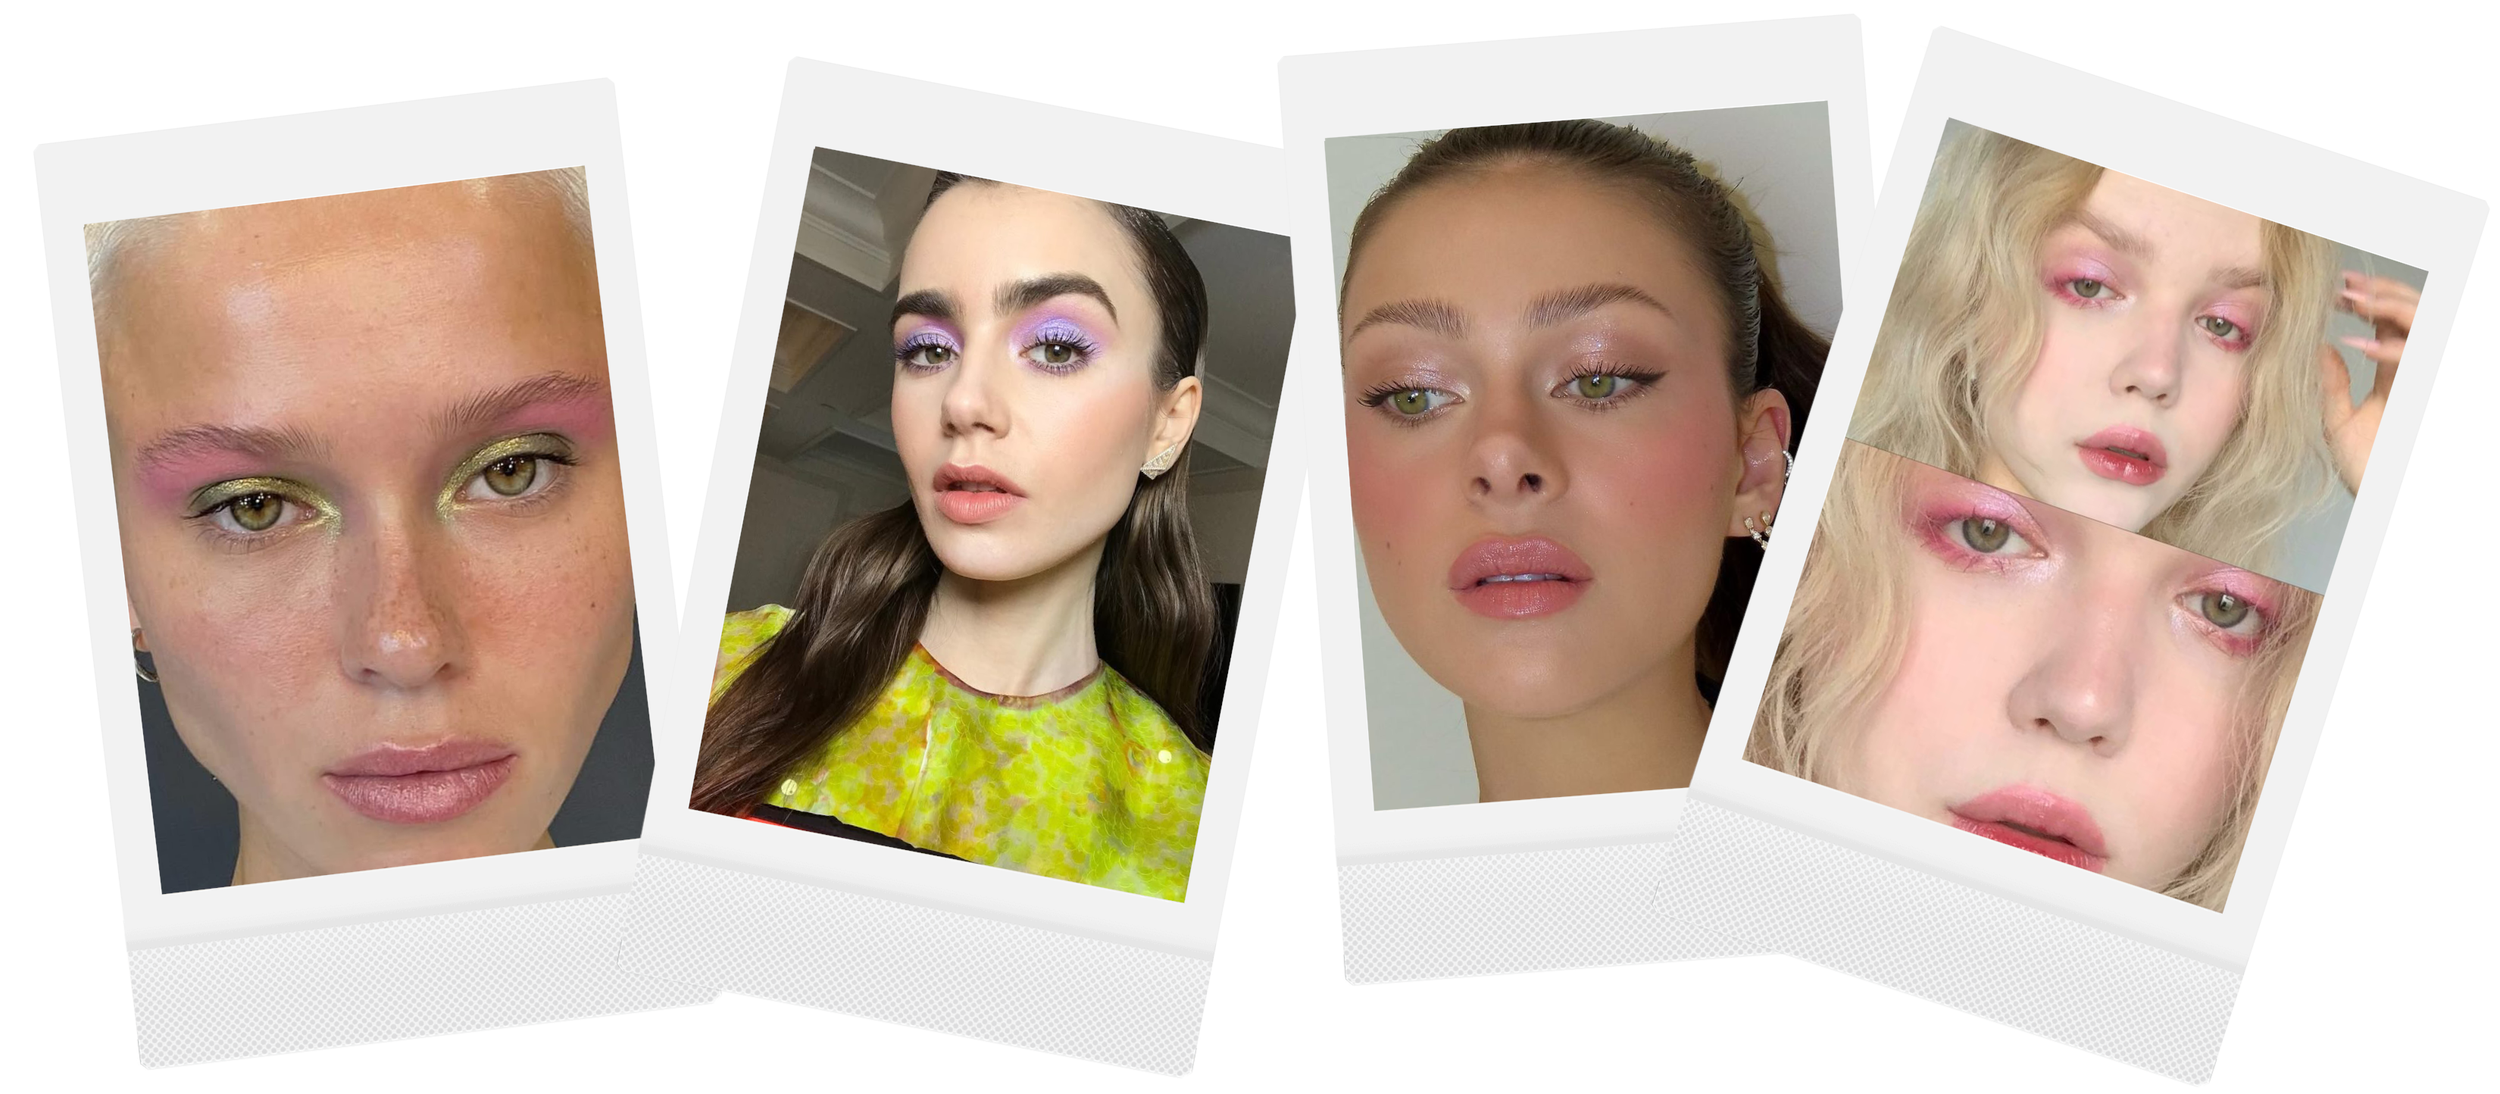
Pop of Color
Yes, yes, yes… I love a clean look, but a pop of color is absolutely irresistible to me — and to my camera.
It can be something as subtle as colored mascara (ugh, I love that detail), a bold eyeliner, or even a touch of shimmer on the eyes. But if there’s one thing that’s completely non-negotiable for me, it’s this:
NEVER skip blush.
Don’t be afraid of blush. I promise the intensity tones down a lot on camera. Just make sure to blend it well — the key is melting it into the skin, not letting it sit on top.
Here’s a personal tip I always follow when I do my makeup: using your cream blush on your eyes, cheeks, and lips is a foolproof combination. You’ll look naturally polished, cohesive, and effortlessly put together.
The French content creator, makeup artist, and founder of her own brand, Violette, once said something I love:
"Red is naturally present in the face — you will always look beautiful wearing a color that already exists within you."
And she’s absolutely right. Blush isn’t exaggeration — it’s life. It’s circulation. It’s natural.
I highly recommend checking out her channel. Her tutorials are simple, chic, and perfect for achieving that effortless French look.
Personally, my favorite blushes are:
NUDESTIX Nudies Cream Blush Stick – Poppy Girl
And any of the Rare Beauty liquid blushes - Hope, super natural everyday shade.
They’re beautiful, easy to work with, and as I mentioned before, the mini versions are more than enough.
I will leave an example of a beautiful -One tone- make up tutorial bellow.
Let’s stay on the color theme — but now let’s focus on
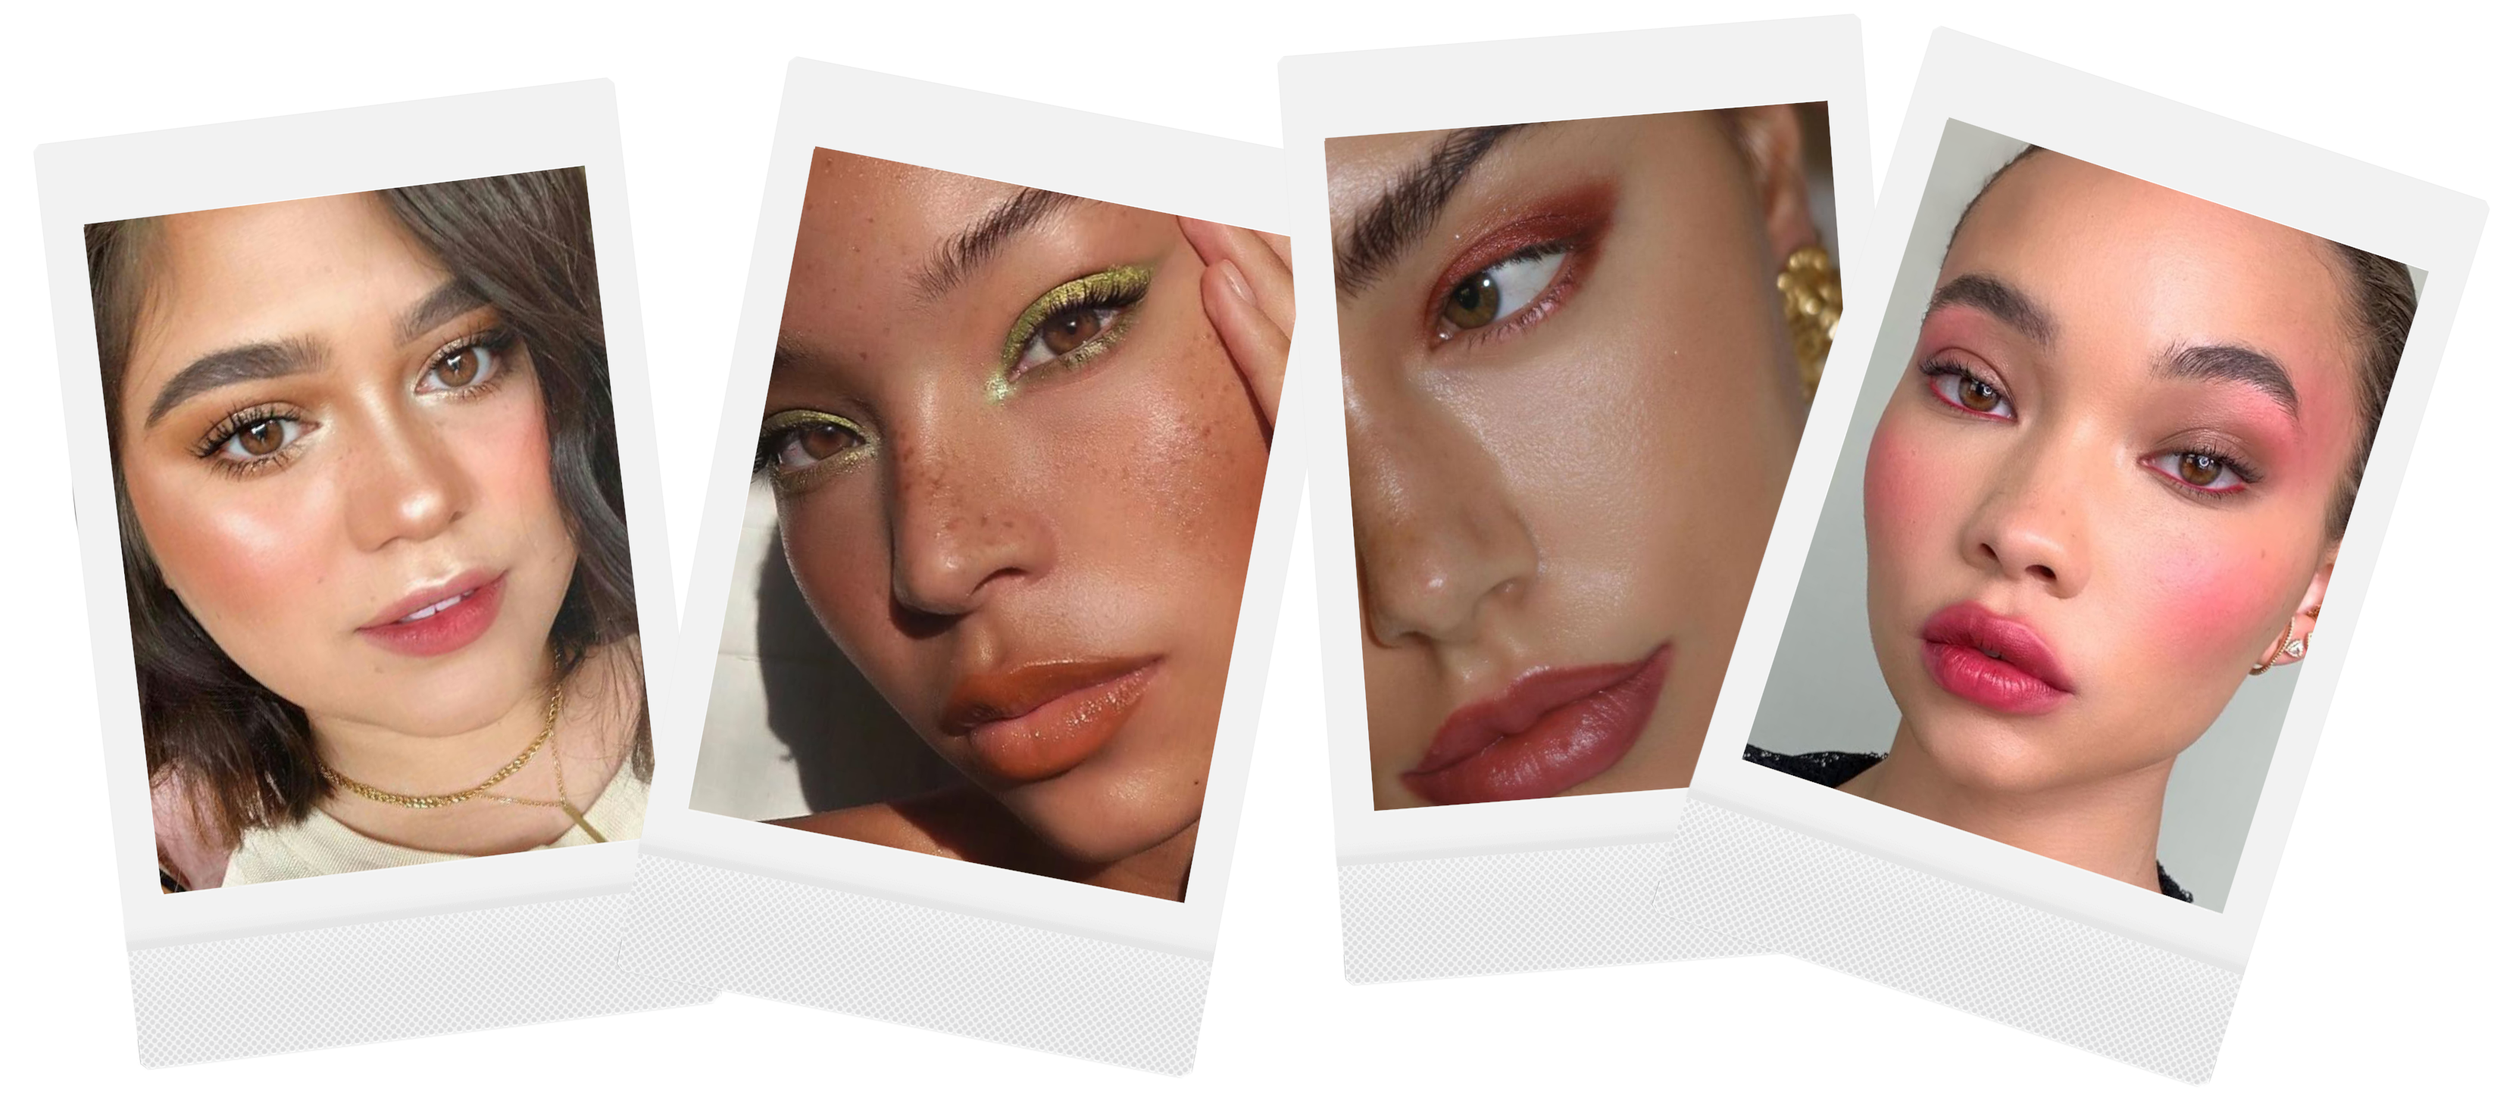
THE EYES.
And it pairs perfectly with the video I shared earlier, right?
A touch of color and light on the eyes adds that extra je ne sais quoi to any look. It can be a tiny sparkle in the inner corner, a soft wash of shimmer across the lid, or even a subtle line of glitter right under the brow bone. The point is to have fun with it.
Again, recommending accessible products — I’m obsessed with these liquid shadows that are actually a DUPE for Fenty Beauty. They’re the NYX Professional Makeup Ultimate Glow Shots Vitamin C Infused Liquid Eyeshadows.
Wow. The colors. The intensity. They’re truly stunning — and at under $8, the price is kind of unbeatable.
If you prefer a crayon-style format, the NYX Professional Makeup Jumbo Eye Pencil (All-in-One Eyeshadow & Eyeliner Multi-Stick) is amazing too. Super easy to use and perfect for blending with your fingers.
But if glitter is your thing, I have the perfect palette for you:
UNLEASHIA Glitterpedia Eye Palette.
You can order it on Amazon, it’s beautiful, and it comes in different color combinations depending on your vibe.
For the cover photo of this blog, I only used that palette — on both the eyes and cheeks. It looks super editorial, right?


A Little Color Theory (Made Simple)
If you really want your eyes to pop, here’s the real secret: complementary colors.
This isn’t random. It’s science — but make it glamorous.
Complementary colors sit opposite each other on the color wheel. When you place them together, they create contrast. And contrast is what makes things look alive. In makeup terms? It makes your eyes impossible to ignore.
Now — here’s where it gets interesting.
Not all brown eyes are the same. Not all blue eyes are the same. Undertones matter. One person’s brown eyes might lean green, another’s might pull golden honey. The magic happens when you choose the shade that enhances the tone you want to bring forward.
You’re not just applying color. You’re directing attention.
Here’s your cheat sheet:
Dark Brown Eyes
Want to bring out the light? Go cool.
Deep navy
Teal
Emerald
Plum
These shades create contrast and make brown eyes look richer, deeper, almost velvety.
Blue Eyes
Play with metallic.
Copper
Bronze
Peach
Terracotta
Warm browns
Orange-based shades are directly opposite blue on the color wheel, but that doesn’t mean you have to keep restrictions. Cool tones like silver, metallics, pastel lilac or blue with some black eyelash mascara give a super sharp eye look you cant look away from.
Green Eyes
Lean into pinks and purples.
Mauve
Plum
Burgundy
Rose tones
These undertones intensify green in the most effortless way. Suddenly your eyes look brighter without anyone knowing exactly why.
Hazel Eyes
Hazel is fun because it shifts between green and brown.
You can play both sides:
Gold and bronze to enhance warmth
Olive and deep greens
Plum and berry tones
Because hazel has green and yellow in the mix, you can play with adding bronze makeup to make them lighter and golden or pink products to bring out the green in them.
The key isn’t to follow rules perfectly, it’s to understand why certain colors make your eyes light up. Have you ever notice how Elle Fanning eyes sometimes look green and other blue? is because of the color that surrounds the eyes and pulls out that sub-tone.
And remember: USE WHAT MAKES YOU HAPPY- this are just trick but not rules. Be you, be happy and be creative.
For all my ILLINI : Wear Blue Eyeliner, Get Major Compliments
For all of you who want something a little more edgy… blue is the answer.
There’s something undeniably bold about blue. And honestly? Every time I open Instagram or TikTok, I become more convinced that blue is having its moment — and it’s not going anywhere.
It can be as subtle as a thin blue liner for a playful pop of color, or as daring as a full blue shadow across the lid. Either way, it instantly adds personality.
And let’s not forget — not only is it incredibly on-trend, it also happens to be one of the university’s main colors. So really… it’s fashion and school spirit.
A simple blue wing can transform a clean look into something modern and editorial. A deeper navy feels sophisticated. A bright cobalt? Confident and unapologetic.
If you’ve been waiting for a sign to try blue — this is it.
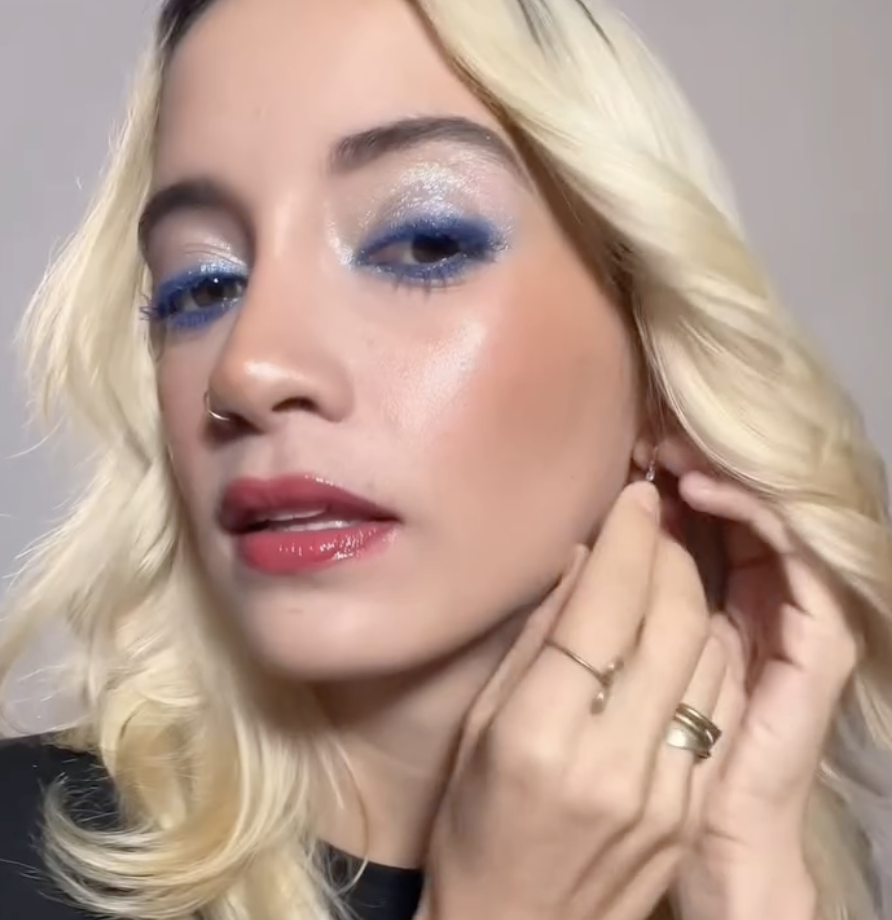
Image credit: @maquillajexpaloma
This Lip-Obssesion
It seems like in the last decade we’ve all been obsessed with lips, sometimes to the point where we don’t even know where to start to find “MY” ideal look. That’s why I prefer to keep it simple.
Whether you’re bold and want a statement lip, or you’re like me and your safe place is a lip tint and gloss — because honestly, who doesn't love gloss — it’s all about playing with natural, juicy lips.
There’s nothing prettier than lips that look hydrated and kissed with color, like you just enjoyed an ice popsicle and left a subtle tint behind. That’s my ideal look.
For this, I recommend a foolproof duo:
Benetint Liquid Lip + Cheek Blush Stain
And to finish, any gloss of your choice
But please — don’t forget to bring this magical duo with you during the session. We want to keep that color and glow until the very last shot… you’ll thank me later.
Its a wrap!
And now, a huge thank you if you made it this far. I know… it’s A LOT of information, but I promise it’s years of research and experience (and extremely valuable, in my opinion).
To keep the inspiration going before your session, here are some of my all-time favorite accounts, MUAs, and YouTubers — plus a special mood board I put together just for you.
My favorite MUAs:
Nina Park — @ninapark
Violette FR — @violette_fr
Anna Sarelly — @annasarelly
Paloma Mercado — @maquillajexpaloma